 英语
英语 西班牙语
西班牙语 德语
德语Industry News

GET IN TOUCH
+86-0523-83274900
+86-151 9064 3365
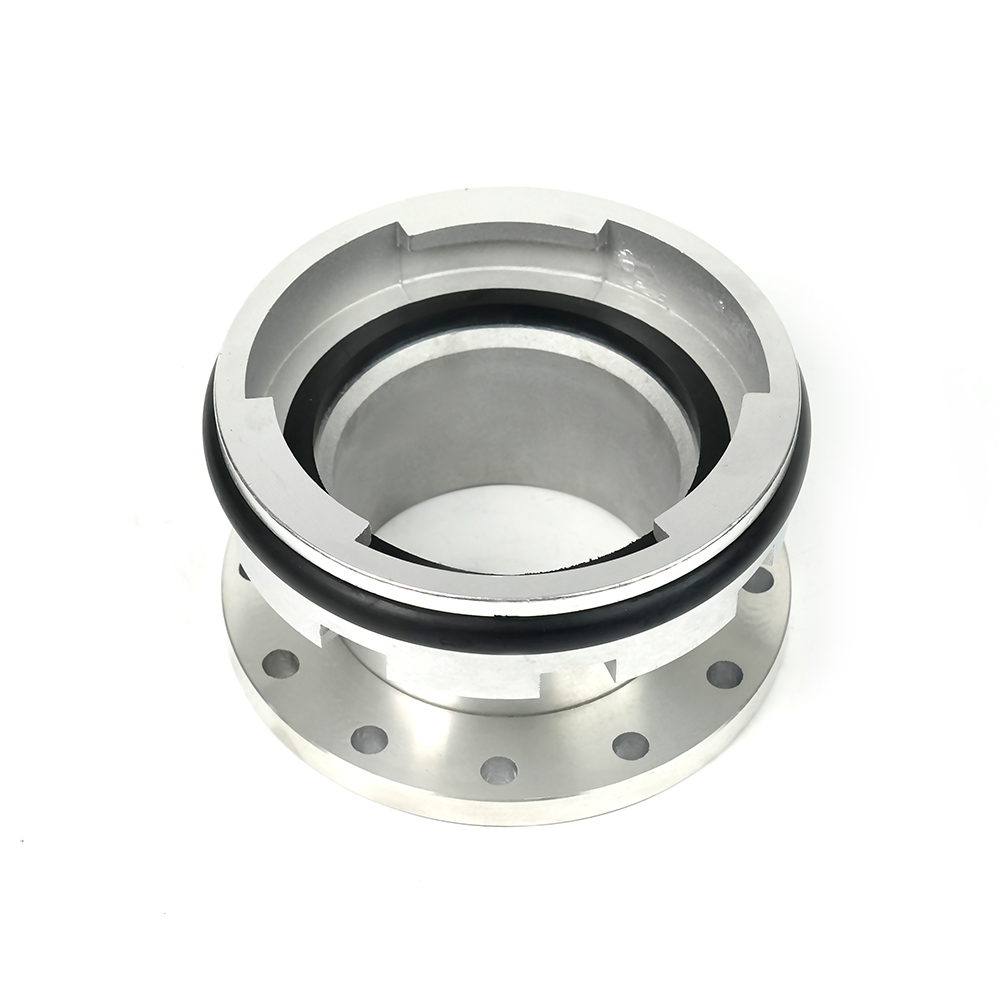
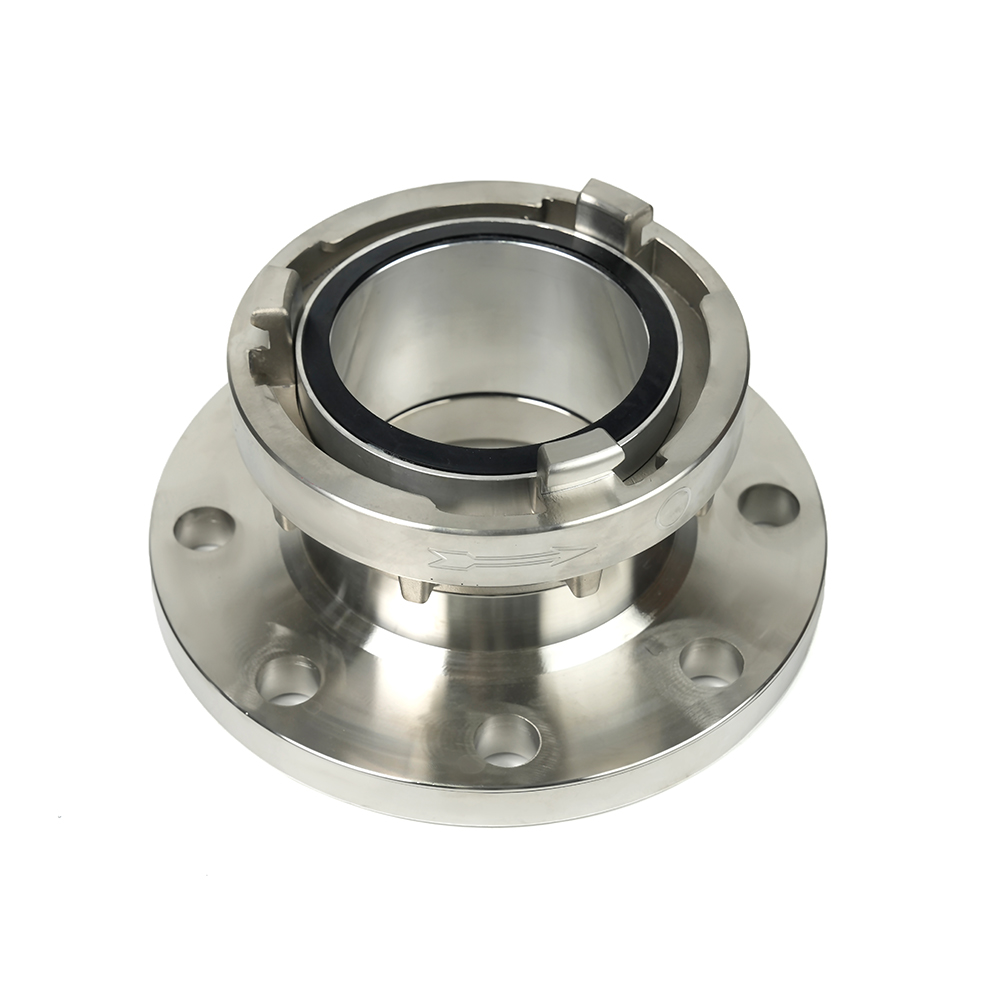
The primary differences between male and female Fire Hose Couplings lie in their thread structure and connection method. Male connectors typically have external threads for mating with internally threaded female connectors, while female connectors have internal threads for receiving externally threaded male connectors. When connecting, the male connector should be inserted into the female connector and the connection should be tight to prevent leaks.
In addition, male and female connectors also have distinct design differences. For example, some quick-connect designs may have no visible "pins" or protrusions on the male connector, while the female connector may have a locking groove that mates with the male connector's locking block for quick connection and securement. This design not only speeds up connection but also enhances safety, allowing fire hoses to be connected quickly and reliably, especially in emergencies.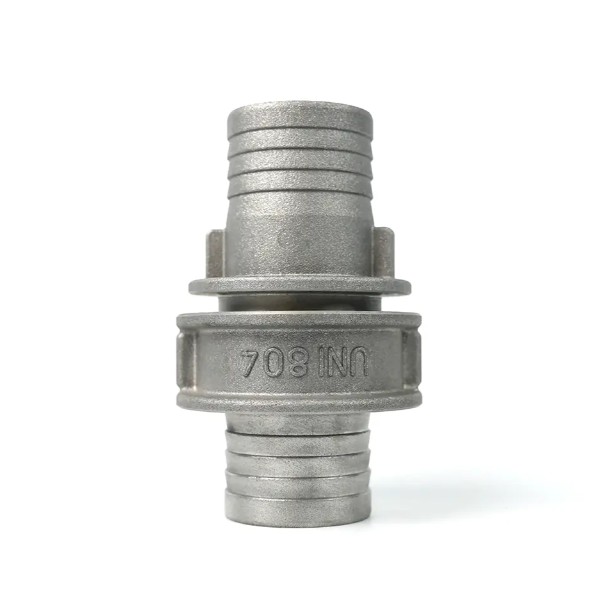
In practice, the choice between male and female connectors depends on the specific connection requirements. For example, fire hydrants are typically equipped with an externally threaded outlet (i.e., the male connector) while the fire hose has an internally threaded connector (i.e., the female connector) at one end, allowing firefighters to connect the hoses as needed. This design allows the fire hose to be flexibly extended to accommodate varying lengths and pressures.
How to connect a fire hose connector?
The steps for connecting a fire hose connector are as follows: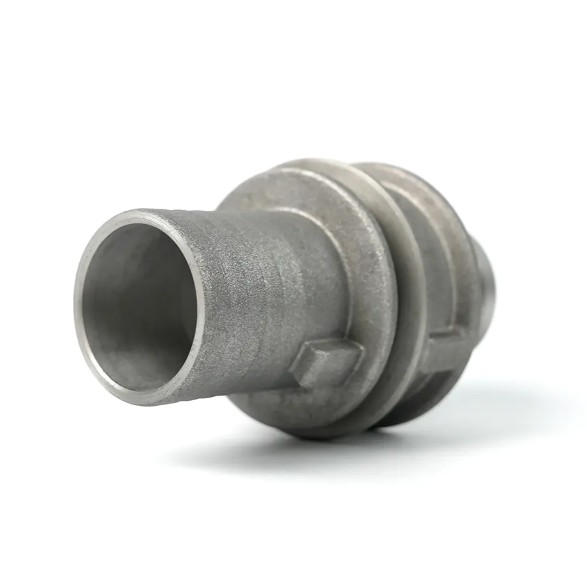
Preparation: First, inspect the hose and connector to ensure they are intact, free of damage, aging, or deformation. Clean any debris or debris from the connector to ensure a tight connection.
Connecting a snap-in connector: Insert the snap claw into the slot and tighten clockwise. When connecting the hose, keep the hose straight to prevent twisting and the connector from coming loose.
Securing with a snap ring: Insert the snap ring into the gap between the connectors and secure it with a screwdriver. Repeat the same process on the other side, attaching two snap rings on each side. After installation, separate the snap ring and attach a hose clamp/hose tie to the hose.
Connecting to a fire hydrant: Align the notch of the hose connector with the fire hydrant or outdoor hydrant. Gently twist the wire ring next to the snap ring. You should hear a click, confirming the hose is connected.
Secure the joint: Use galvanized wire or a hose clamp to secure the joint tightly to prevent loosening due to water pressure shock. Typically, use 16-gauge wire. Secure one end of the wire and pull it straight. Bend the other end at a 90° angle and spiral it outward, starting from the groove near the hose connection.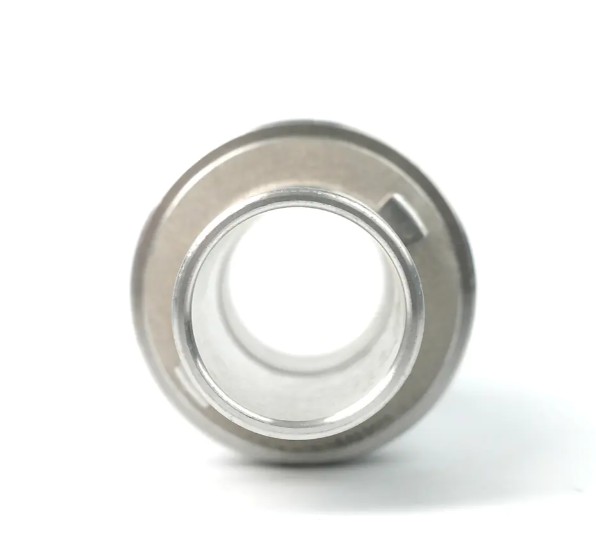
Connect the hose: Connect the other end of the hose to the hose, following the same connection procedure as for a fire hydrant. After connection, have at least two people hold the hose firmly and aim it at the fire (not at anyone to prevent injury from the high-pressure water).
Open the valve: Slowly open the fire hydrant valve to its maximum and aim it at the base of the fire to extinguish.
These steps will ensure the fire hose is properly connected, improving firefighting efficiency and safety.
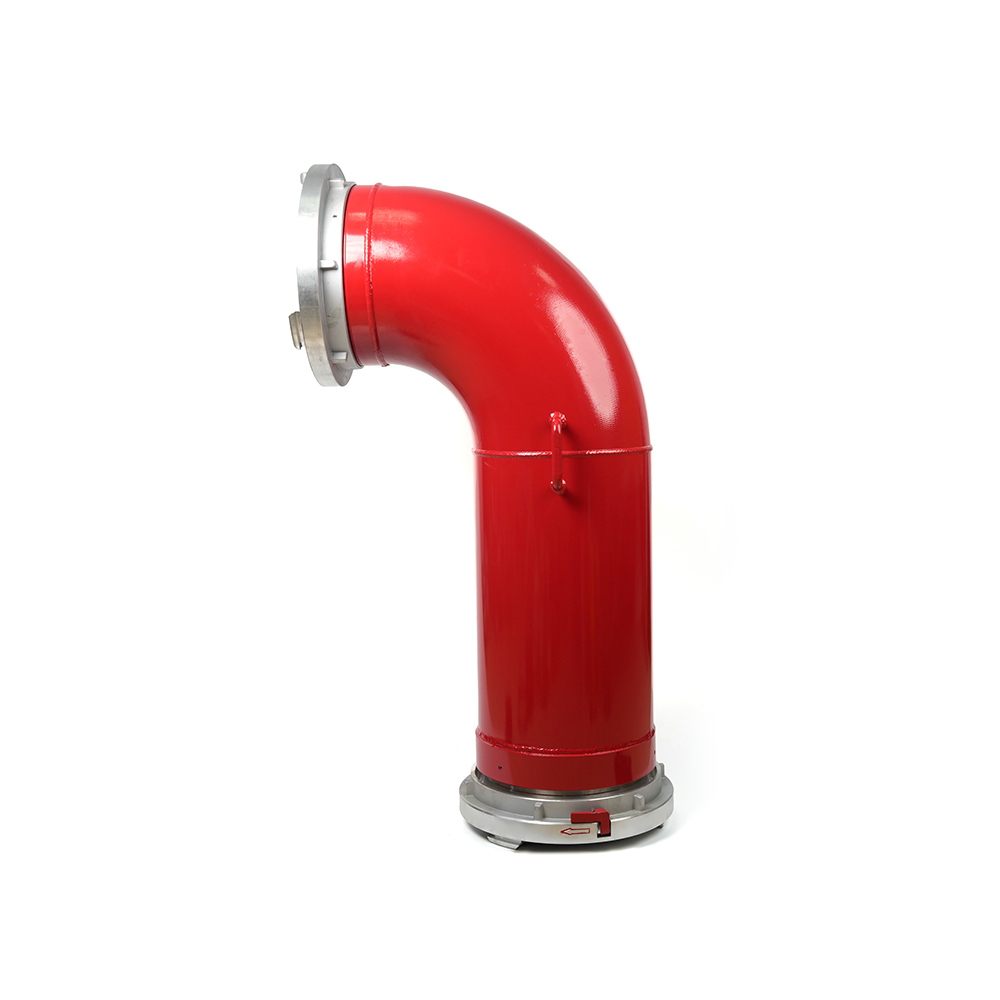 Grooved Fire Elbow-Storz
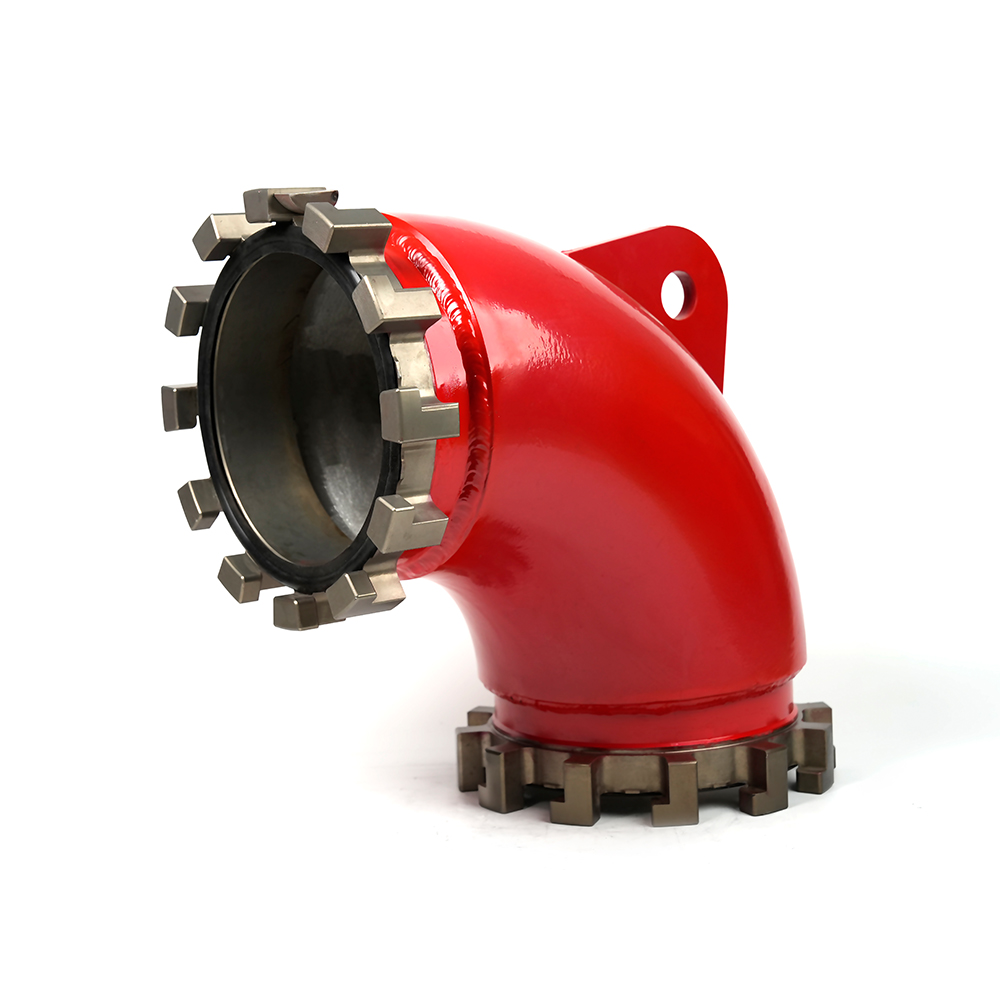 Grooved Fire Elbow-Multi-tooth
 Multi-functional Fire Hose Distributor
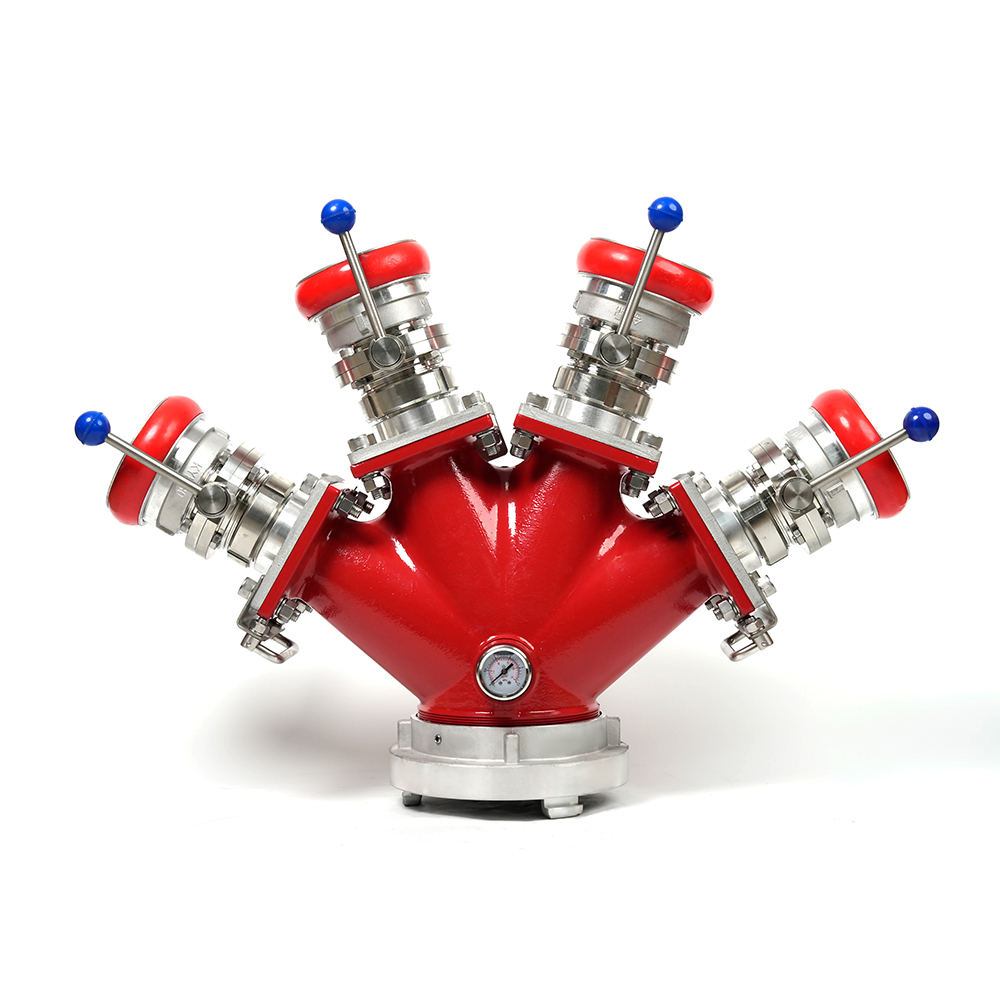 Locking Four-Way Fire Hose Distributor
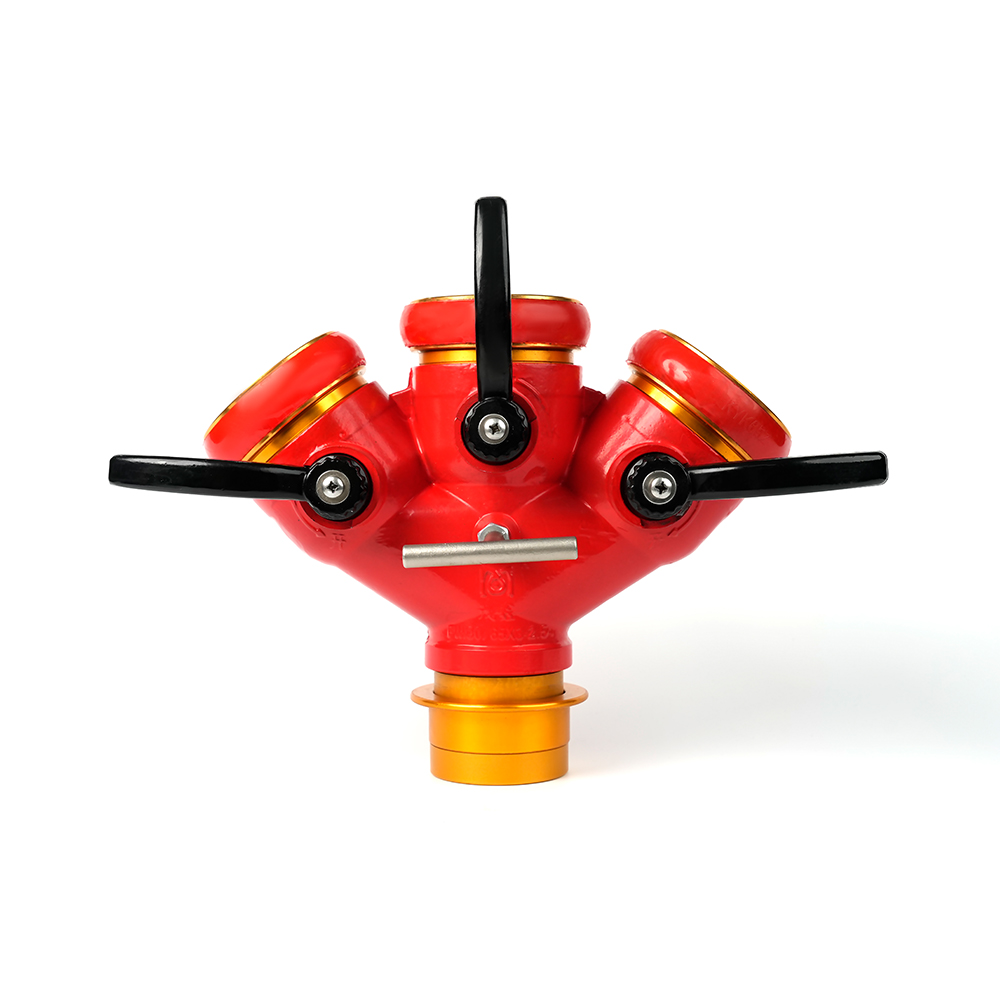 Locking Three-Way Fire Hose Distributor
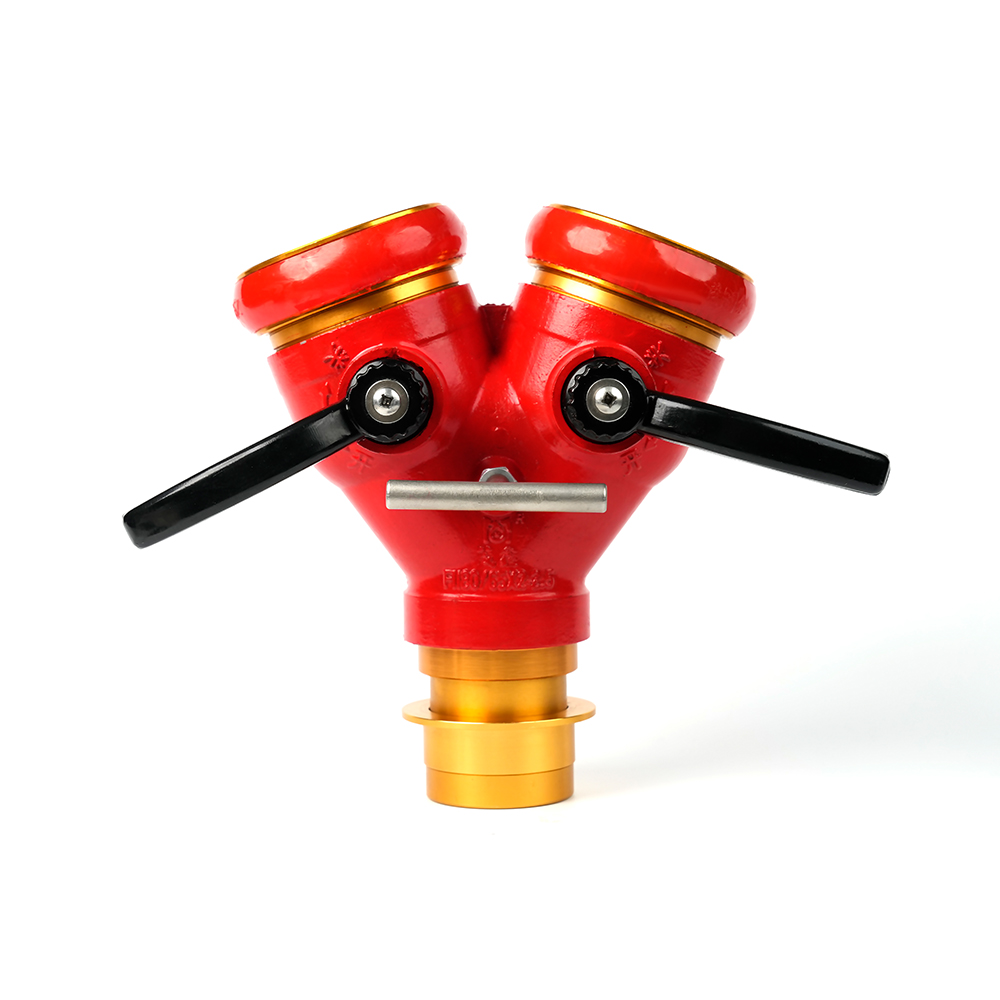 Locking Two-Way Fire Hose Distributor
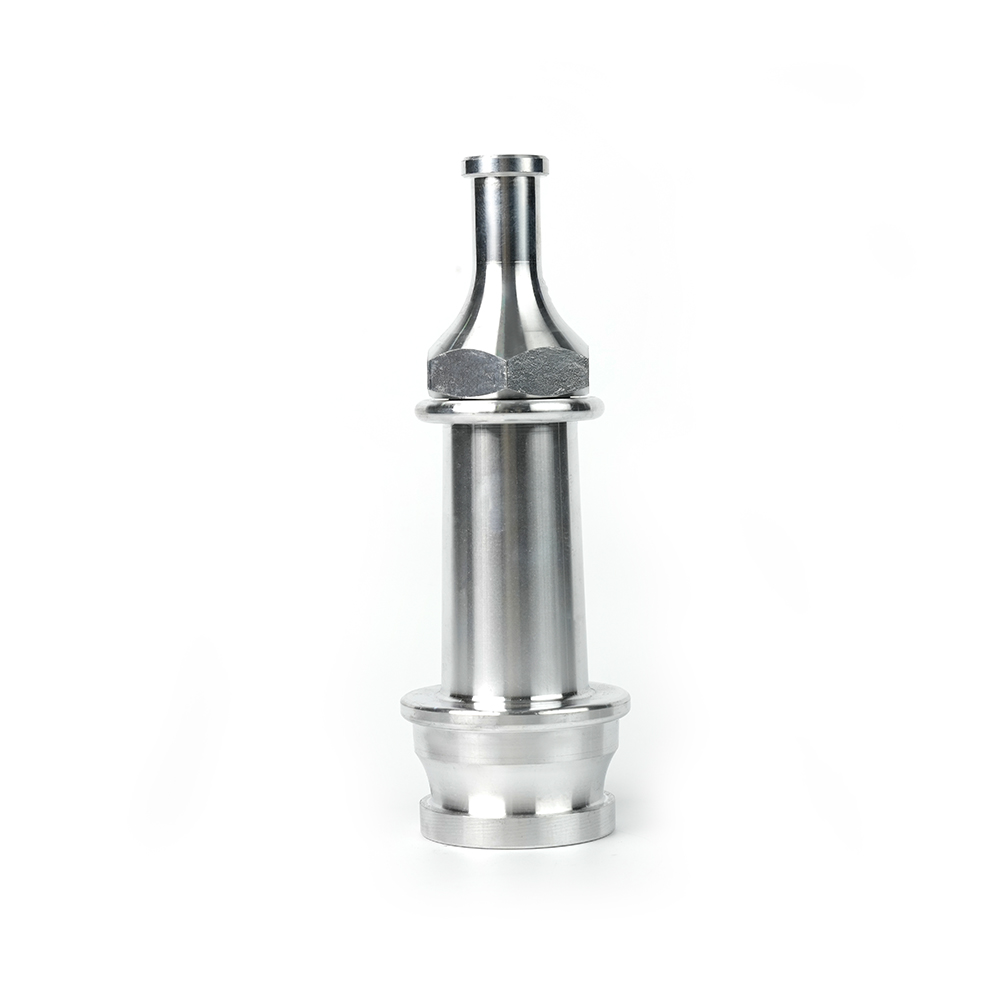 Straight Stream Nozzle
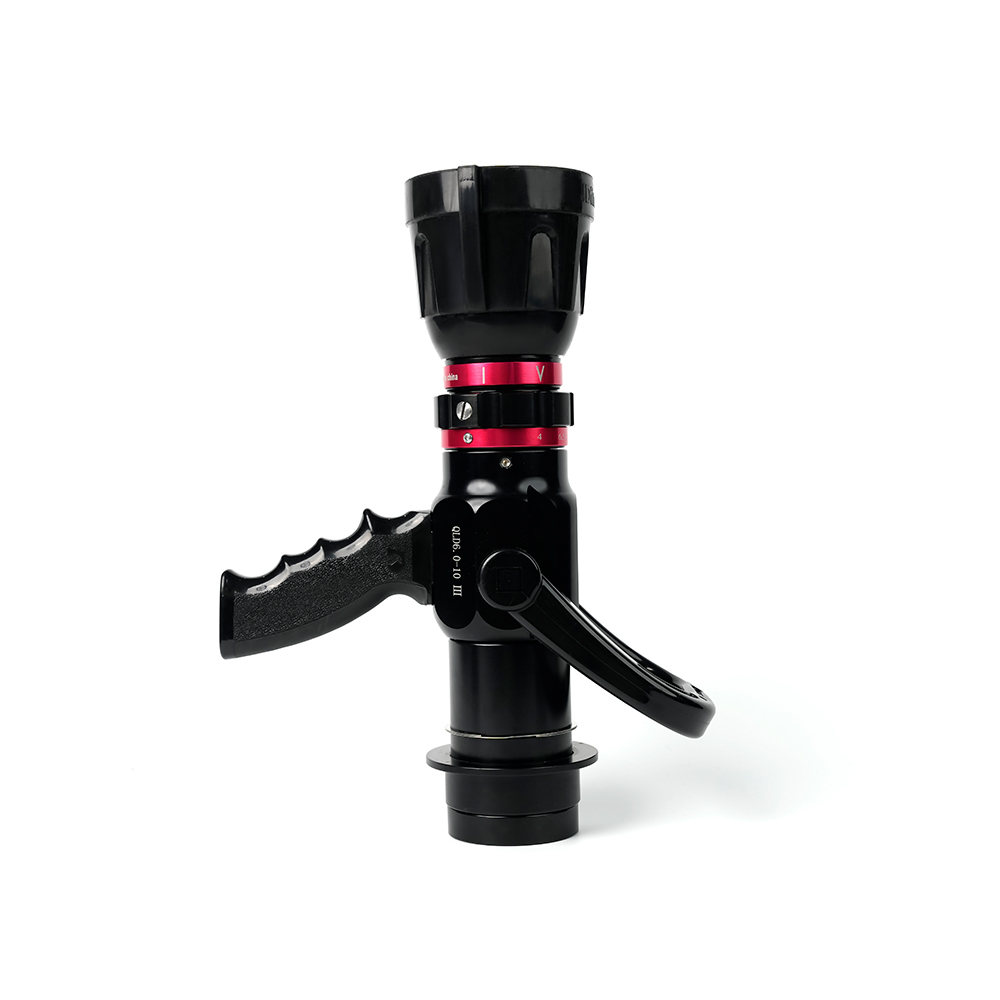 Adjustable nozzle-machino
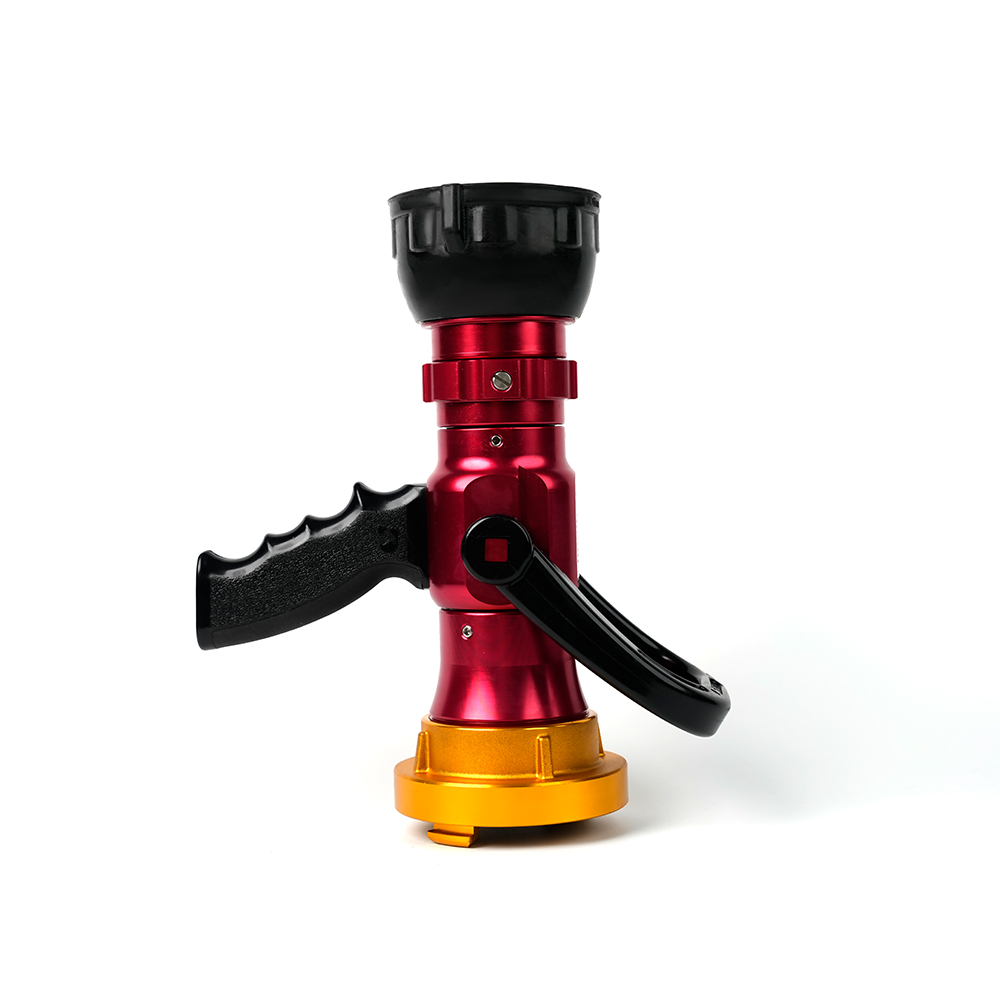 Adjustable nozzle-storz
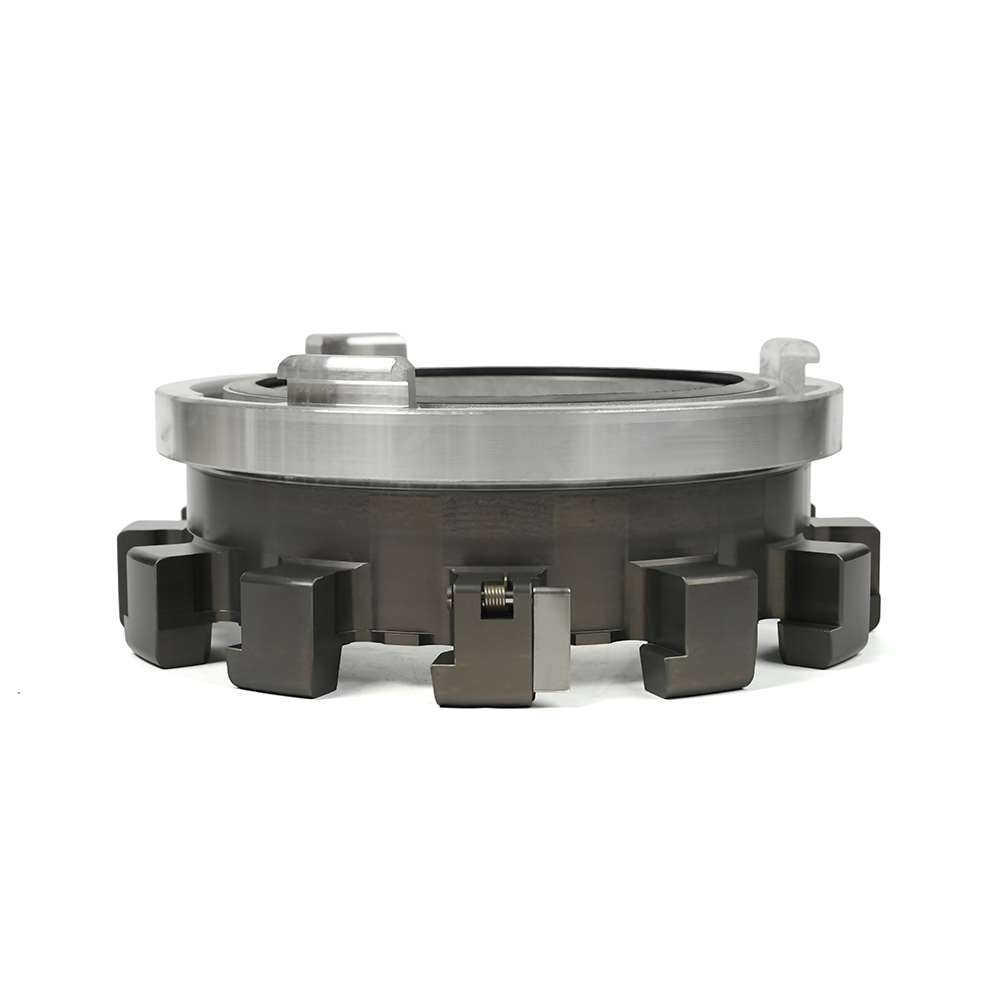 Storz Adapter Couplings - Multi-Tooth
 Machino Adapter Couplings – Flanged
 Storz Adapter Couplings – Flanged
 Contact Number
+86-0523-83274900
+86-151 9064 3365
 Let our team offer you customs solutions.
 Company Address
West side of Hongxing Middle Road, Lincheng Street, Development Zone, Xinghua City, Jiangsu Province, China
Copyright @Jiangsu Jinding Fire Protection Technology Co., Ltd. All rights reserved Fire Protection Equipments Manufacturers
