 英语
 西班牙语
 德语
Industry News
Home / News / Industry News / Fire Hose Testing: Pressure Integrity, Couplings, and Safe Test Setups


+86-0523-83274900
+86-151 9064 3365
Content
A hose that passes a visual check can still fail at test pressure. The difference between a routine test and a safe, repeatable one is usually not the pump alone. It is the combination of correct test pressure, compatible couplings, proper air bleed, and a written result. Fire hose testing is a pressure integrity check, not just a look at the jacket. If an assembly cannot hold its test pressure without leakage, coupling movement, or permanent deformation, it is not ready for service, no matter how good it looks on the rack.
A fire hose test has three jobs. It proves the hose body can contain water at the required pressure, it proves the couplings stay attached under load, and it proves the assembly can be handled safely after the test. A passing result does not mean the hose is new. It means the assembly met the acceptance criteria at the time of test.
Most test programs base the test pressure on the hose maximum working pressure. A common rule is 1.5 times working pressure, but the applicable standard, local fire authority, or manufacturer instruction controls. For example, a hose marked at 10 bar may be tested at 15 bar in some programs, while other jurisdictions set different values. Do not guess. Use the marked rating and the accepted test table for your market.
| Check | Method | Failure sign | Field impact |
|---|---|---|---|
| Hose body | Pressurize with water, hold, inspect jacket | Burst, pinhole leak, weeping, blister | Hose cannot be returned to service |
| Coupling retention | Mark coupling position, pressurize, watch for movement | Sliding, rotation, pull-off | Connection may separate under flow |
| Gasket seal | Check joint under pressure | Drip or spray at the interface | Pressure loss and poor stream |
| Deformation | Compare length and shape after test | Permanent elongation or oval coupling | Fit problems and reduced service life |
The table is a practical starting point, not a substitute for the test standard. Acceptance should be written down before the test starts, so the person running the test does not have to judge a borderline result under pressure.
Run the test the same way every time. A repeatable sequence reduces false failures and makes records useful.
Use a calibrated gauge with the working range in the middle of its scale. A gauge that reads 0 to 60 bar for a 10 bar test gives poor resolution. Pressure tolerance should follow the standard or the test procedure. If the procedure allows a small band, record the actual reading, not just pass or fail. That reading helps later when the same hose is retested.
Temperature matters. Cold water reduces flexibility, and very warm water can soften some hose materials. Let the hose settle to ambient conditions when practical. Do not use the test to stretch a new hose into shape. A hose that grows permanently in length has failed a dimensional check even if it held pressure.
A common failure at the test bench is not a burst hose body. It is a coupling problem: a missing gasket, a mismatched thread, a worn lug, or an adapter that seals on the wrong face. The hose may be fine, but the test setup leaks and the result is unclear.
Match the coupling to the hose and to the test pump. A Machino fire hose coupling, for example, needs the correct mating half, gasket, and seating surface. If the test bench uses a different standard, use a dedicated adapter rather than forcing a connection.
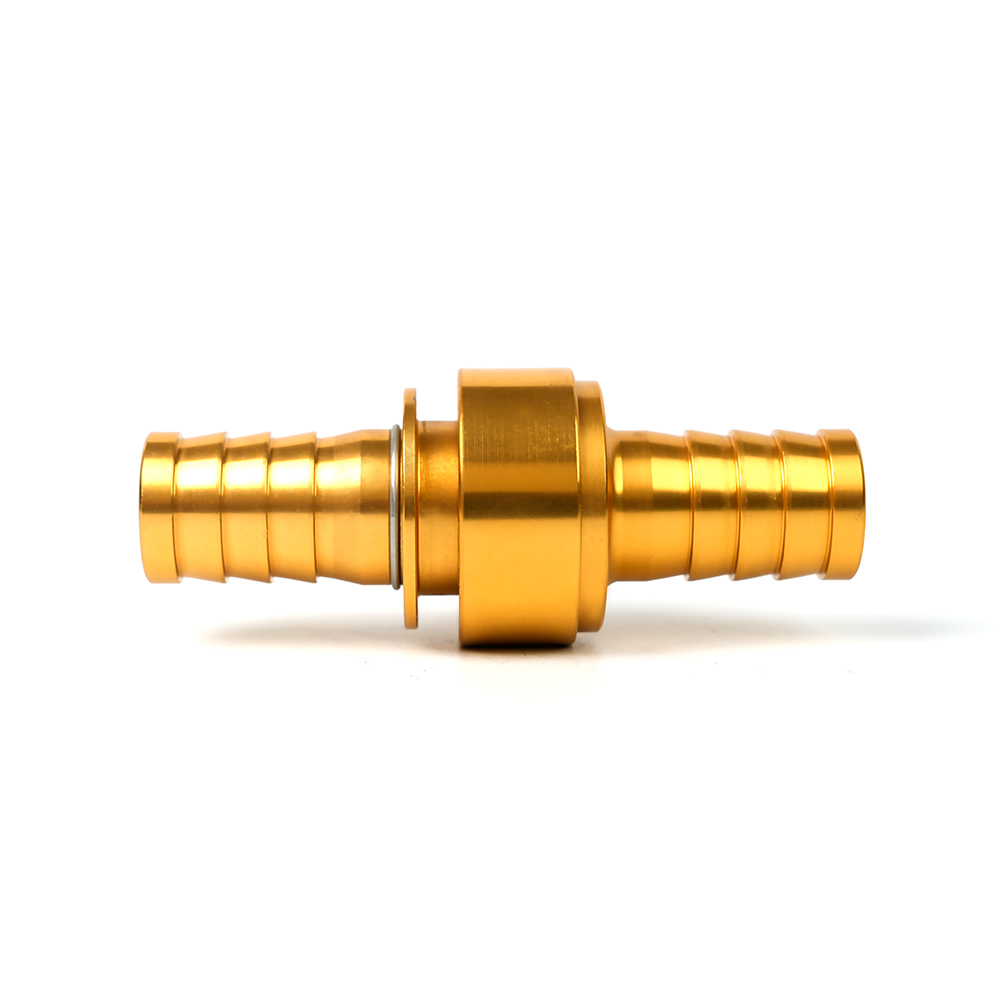 Machino Fire Hose Coupling for Hose and Test Bench MatchingSerrated and ribbed tail-end types in sizes from 25 mm to 100 mm support matching a Machino coupling to the hose and test pump.View Product →
For Storz systems, small and large sizes are not interchangeable. A small Storz hose coupling should be paired with the matching small Storz half. Using a large head on a small line may look close enough, but it will not seal correctly under pressure.
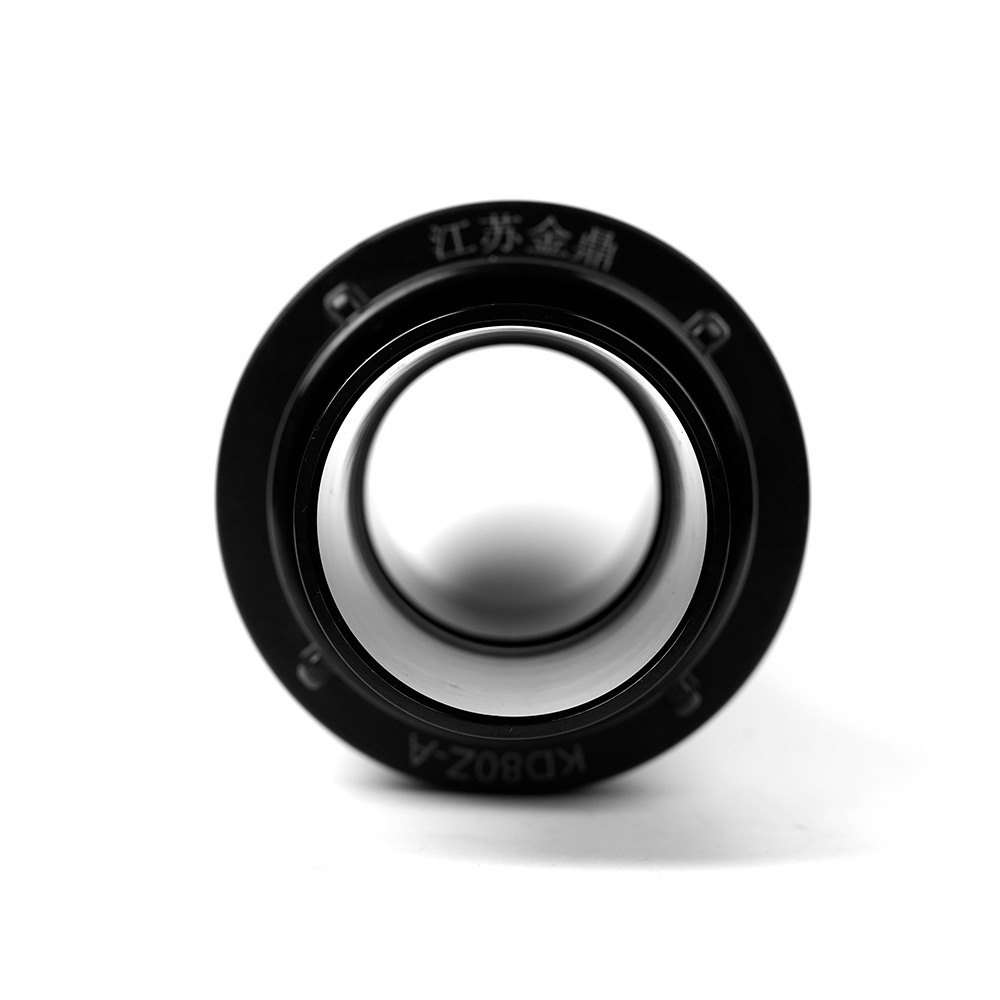 Storz Fire Hose Coupling-Small for Matched Storz ConnectionsThis small Storz coupling pairs with the matching small Storz half, helping avoid mismatched sizes that may not seal under pressure.View Product →
Test benches often connect a hose to a pump manifold with a different interface. That is normal in workshops that service multiple markets. The safe approach is to select an adapter rated for the test pressure and to check that it seals on the correct gasket face. A Storz to male Machino adapter is one example of a purposeful cross-standard link.
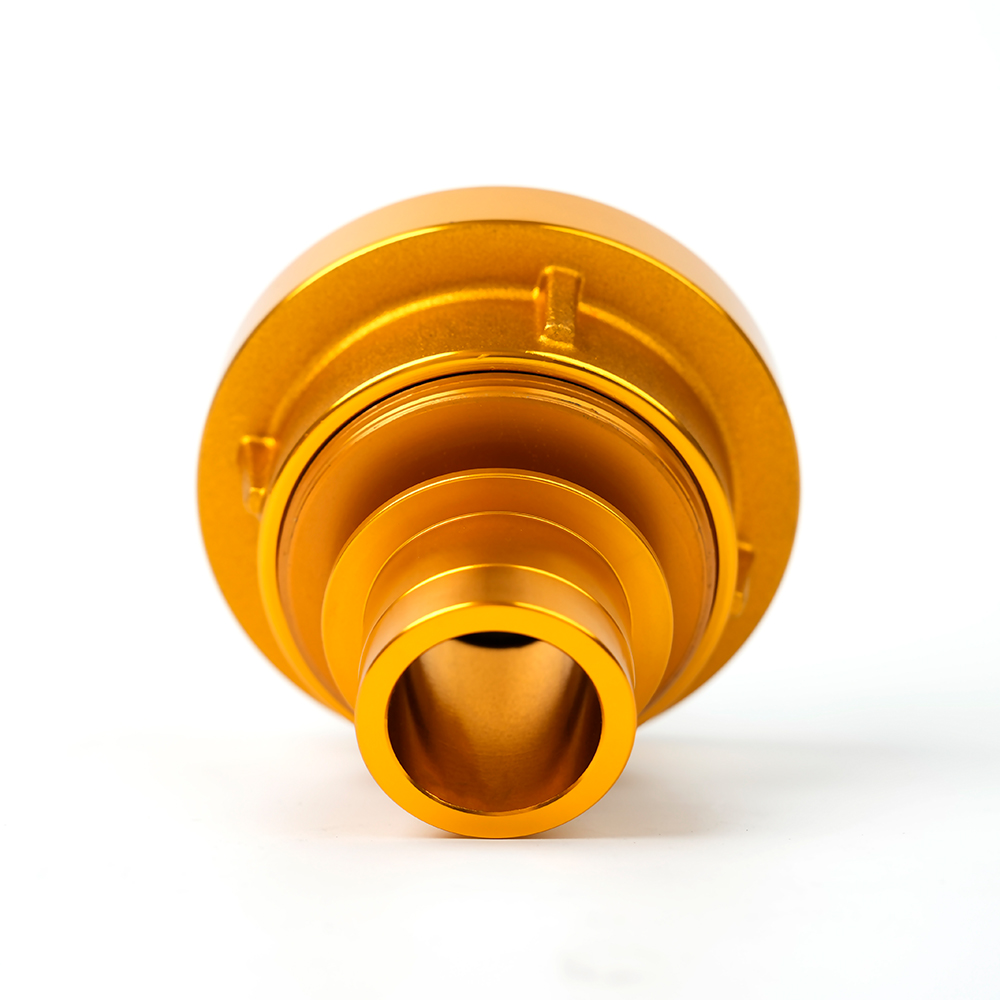 Storz Adapter Couplings - Male Machino for Cross-Standard ConnectionsChoose this adapter when a test bench needs to link a Storz interface to a male Machino fitting across different coupling standards.View Product →
Inspect adapters as carefully as hose couplings. Look for cracked lugs, flattened gasket grooves, crossed threads, and corrosion that changes the sealing surface. A cheap adapter that leaks at test pressure costs more time than a correct one.
Hose testing exposes weak points that visual inspection can miss. The most common issues are:
For buyers, the risk is not only a failed test. It is a batch of hose assemblies that cannot be used with the couplings already in service. Confirm the interface standard, size, thread type, and gasket style before ordering. If a supplier cannot state those details clearly, the test bench will find out the hard way.
A good test area is simple but controlled. You need a water source, a pressure pump, a calibrated gauge, a bleed point, and a safe way to restrain the hose. A steel cage or a restrained test wall protects the operator if a coupling lets go. Keep the floor clear and route the hose so it cannot whip.
Small details change the result. A dry gasket can drag and leak. A kinked hose can show a false pressure rise. A pump that surges can shock the couplings. For joint connection details, see fire hose joint connection guidance.
If you are matching couplings for a test bench or a fleet program, contact our technical team with the standard, size, and pressure rating. Clear inputs save a lot of trial and error.
Write down enough detail that another person can repeat the test. A useful record includes the asset number, hose size and length, working pressure, test pressure, hold time, gauge reading, visual result, and the name of the tester. Add the next test date and any repair or rejection decision.
Retest intervals depend on the standard, the service environment, and the hose history. Hose used in dirty, abrasive, or chemical exposure may need shorter intervals than hose kept in a dry cabinet. A hose that has been repaired, re-coupled, or exposed to a fire event should be treated as a new test item. Do not carry forward an old pass result.
Acceptance should be simple. No leakage at the couplings or hose body. No coupling movement. No permanent deformation beyond the allowed limit. If any of those points fail, remove the assembly from service and tag it clearly. A failed hose that goes back on the rack is a future incident.
Use this list when specifying hose, couplings, adapters, and test bench parts:
Fire hose testing is a small part of the maintenance calendar, but it protects the whole system. The right hose, the right coupling, and a controlled test sequence give you a result you can trust. When the test is repeatable, the records become a management tool instead of paperwork.
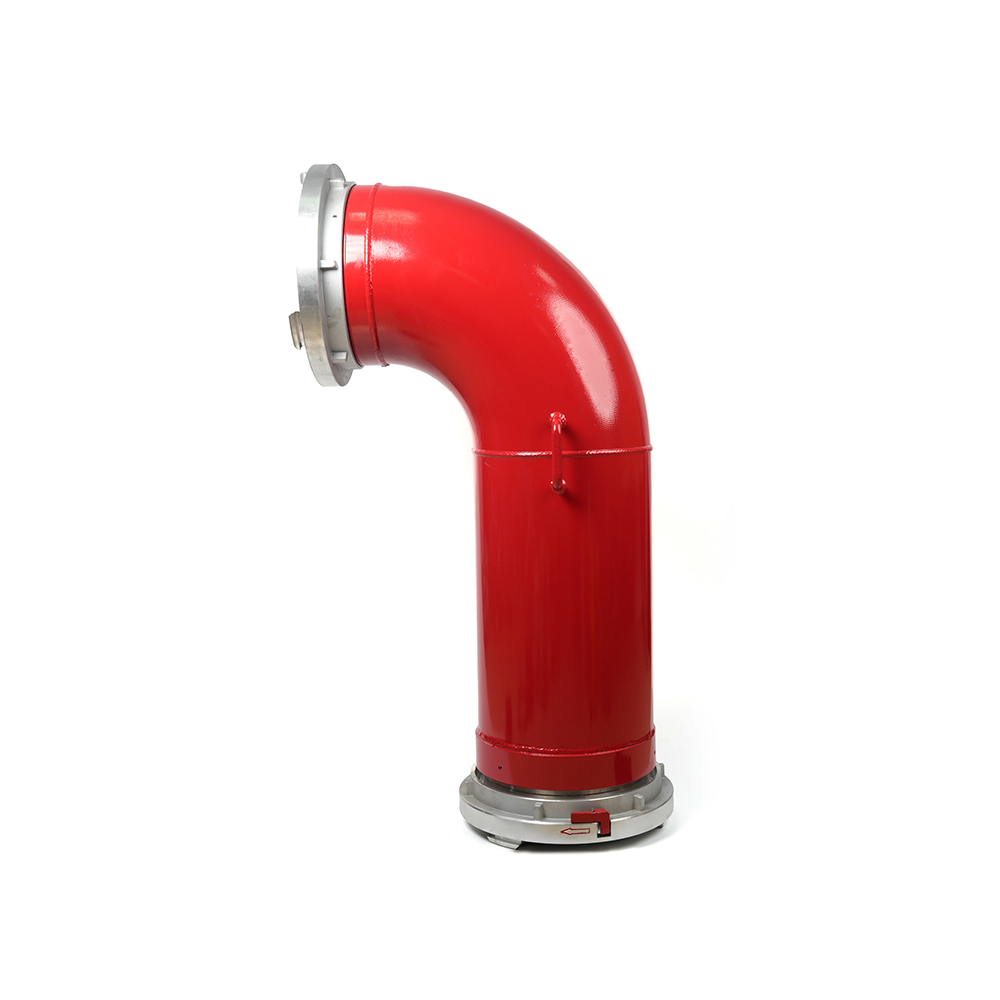 Grooved Fire Elbow-Storz
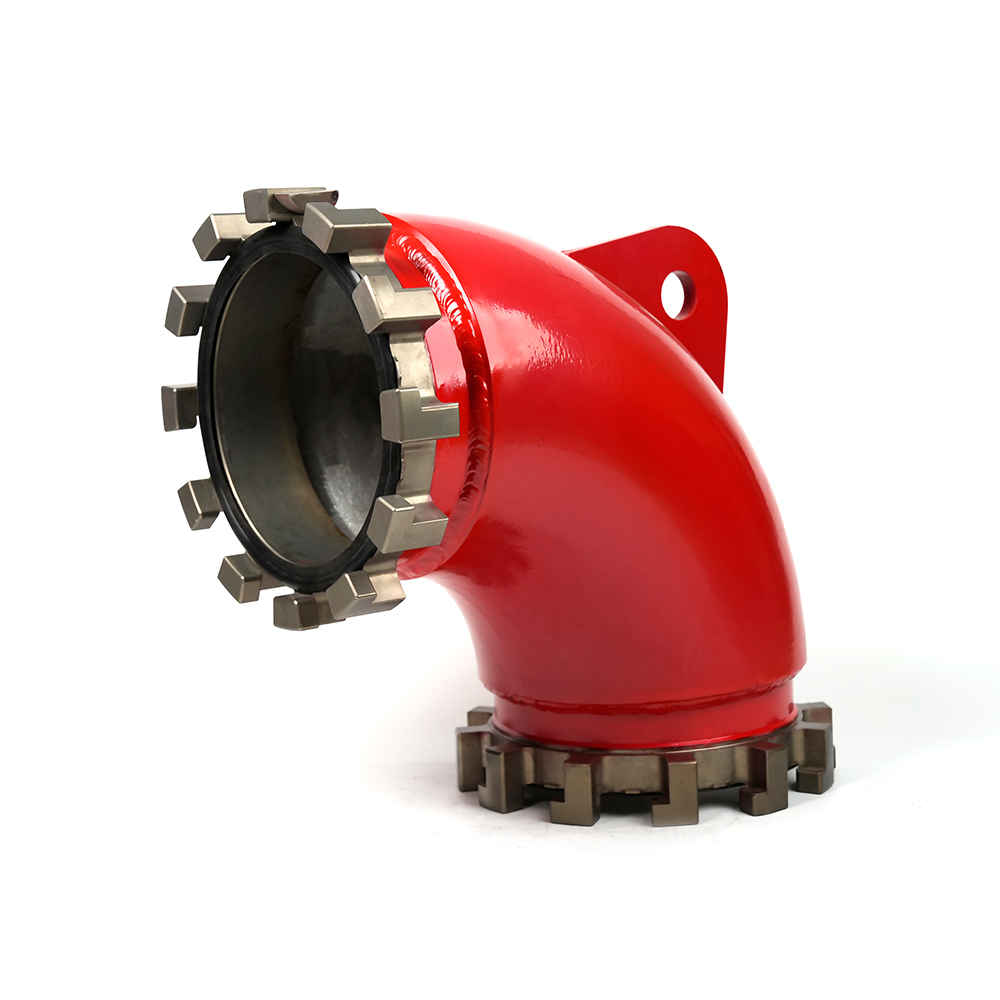 Grooved Fire Elbow-Multi-tooth
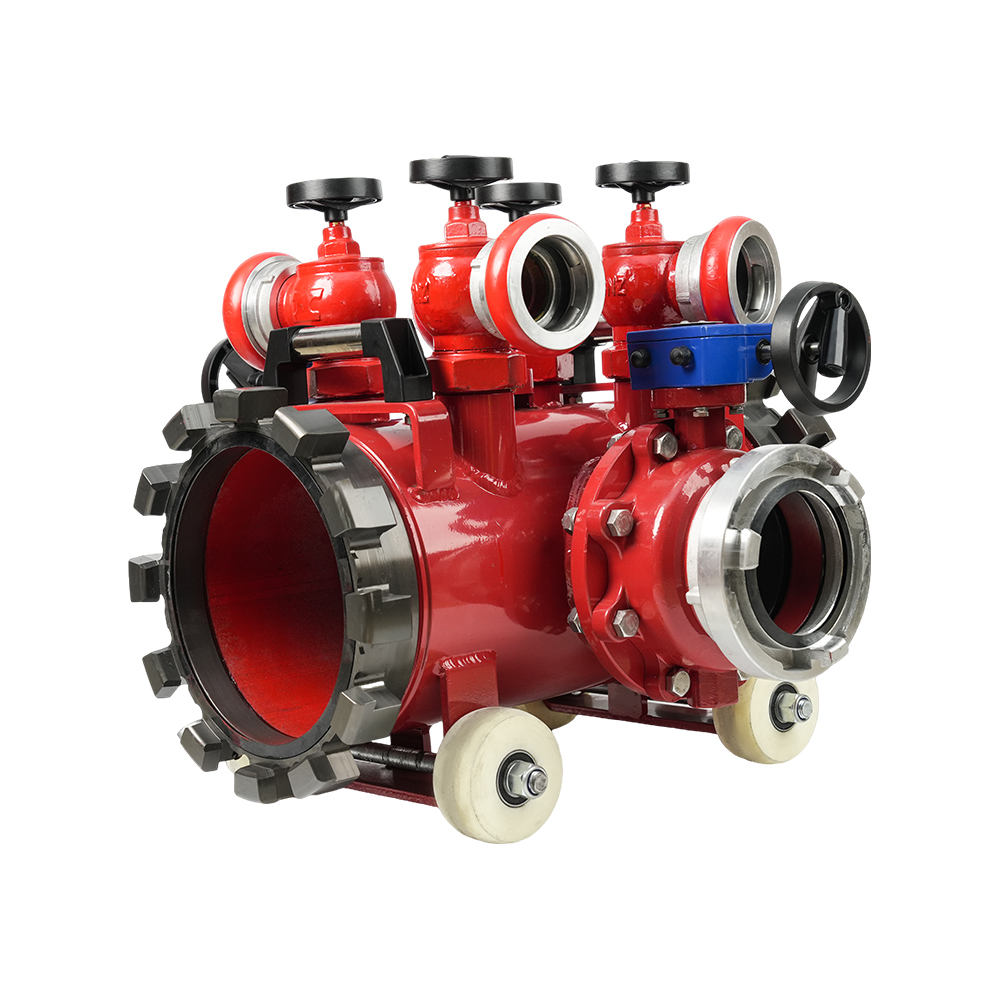 Multi-functional Fire Hose Distributor
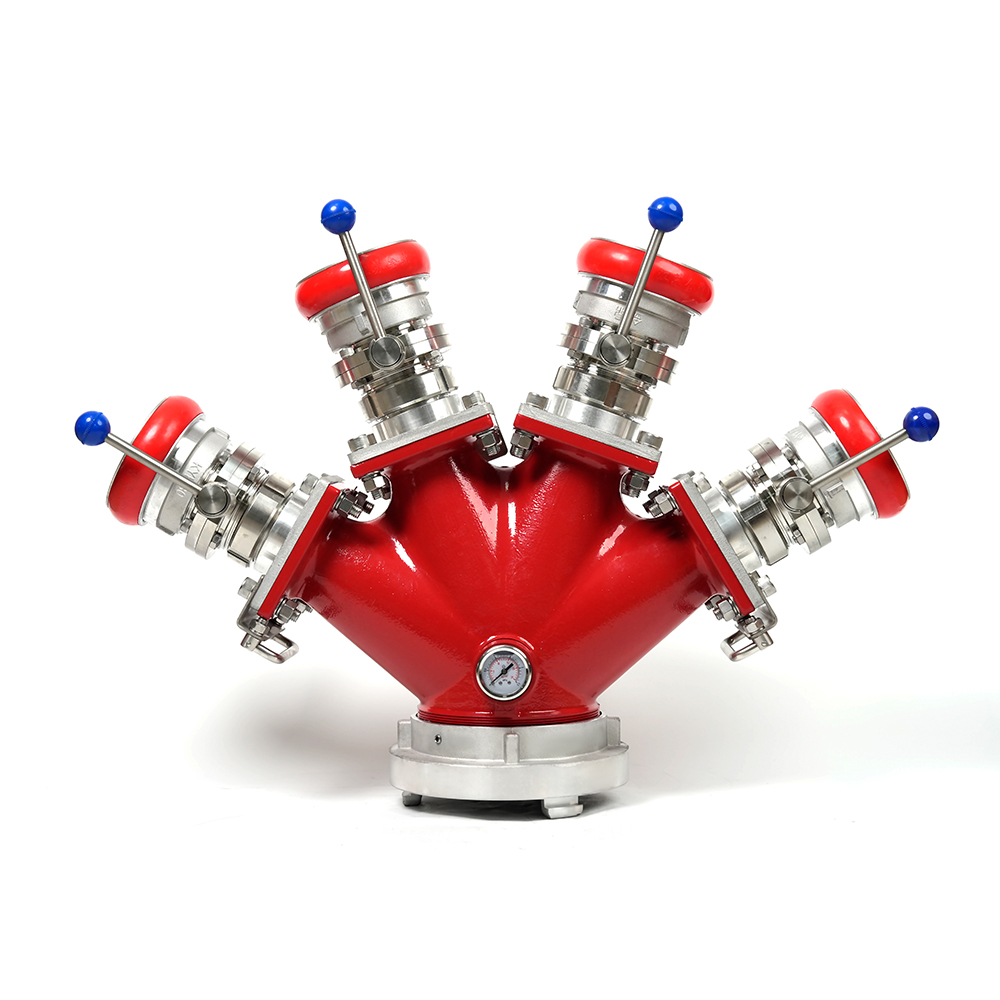 Locking Four-Way Fire Hose Distributor
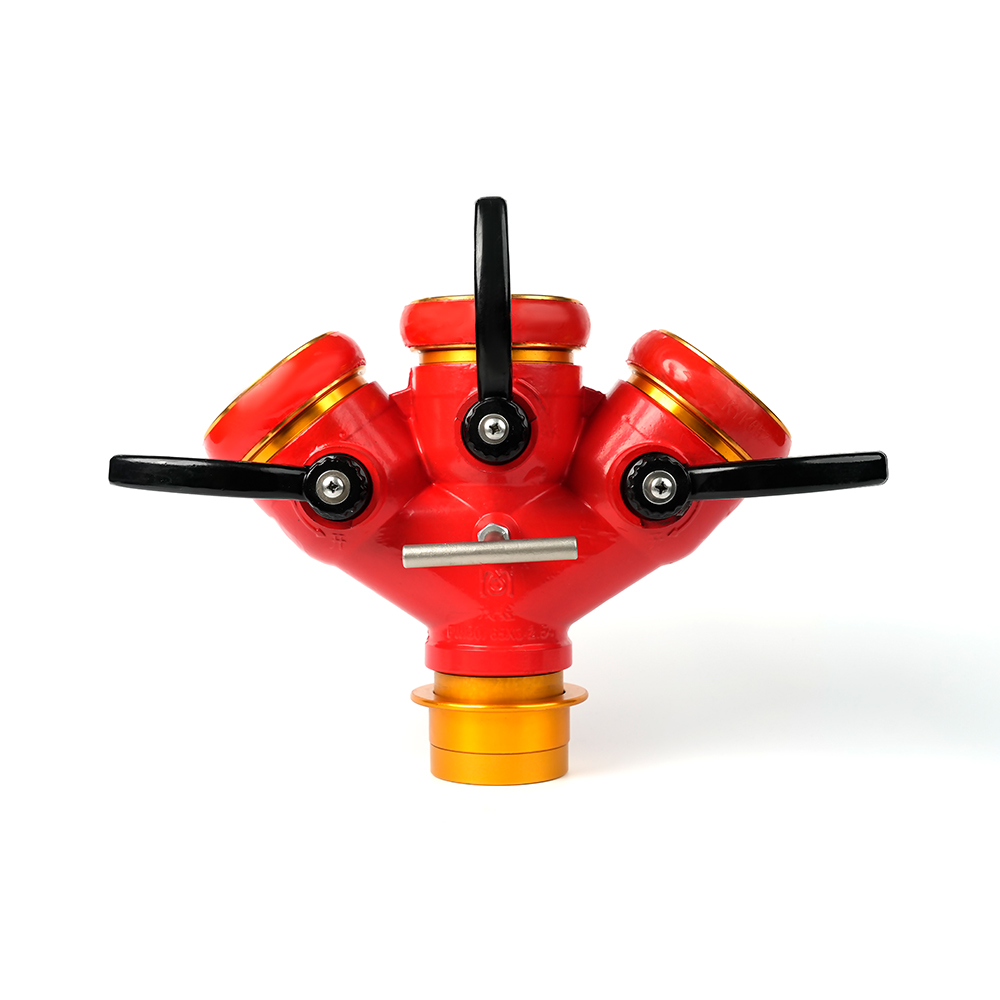 Locking Three-Way Fire Hose Distributor
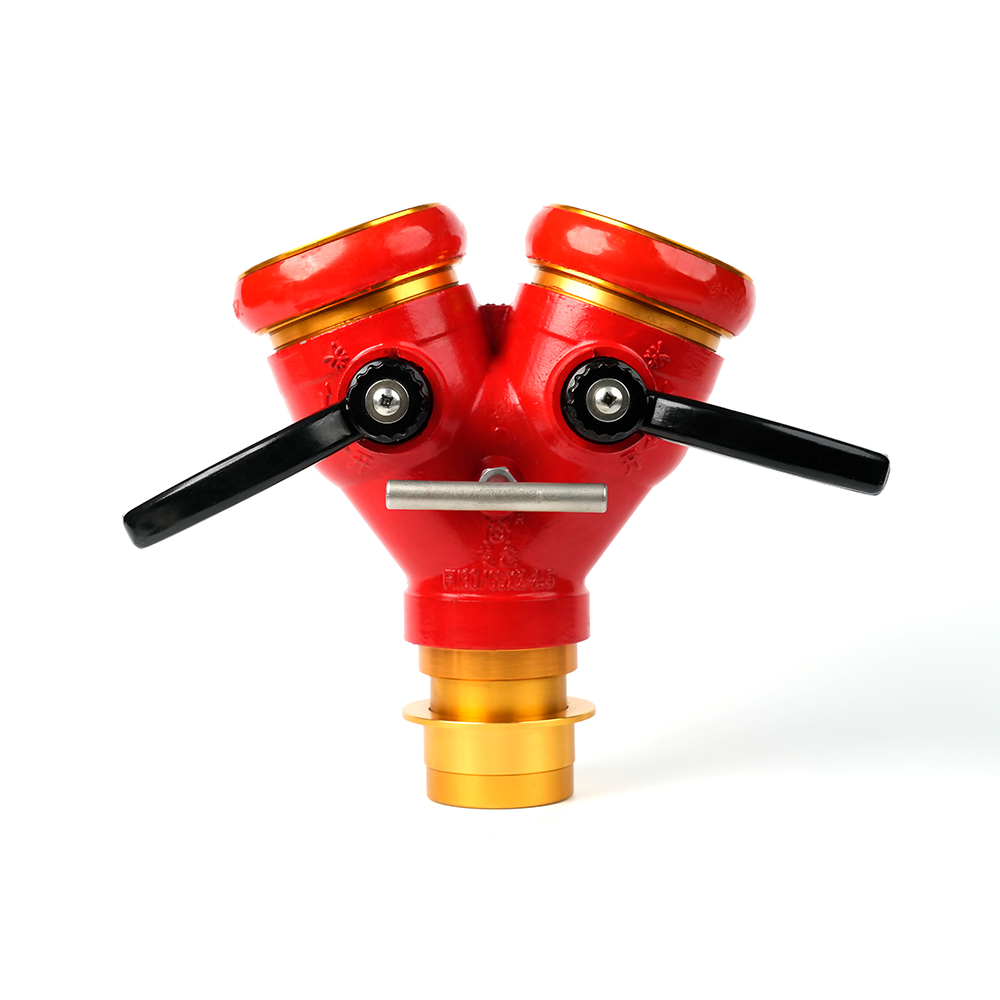 Locking Two-Way Fire Hose Distributor
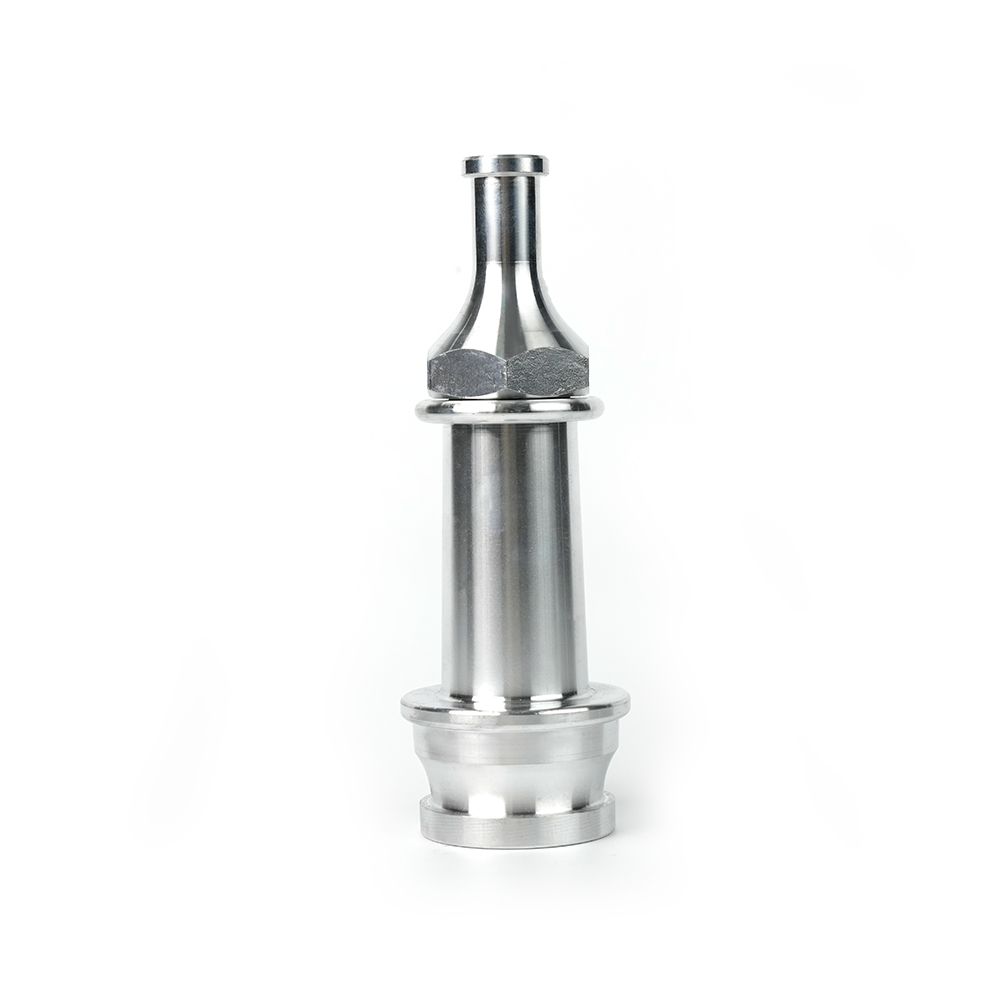 Straight Stream Nozzle
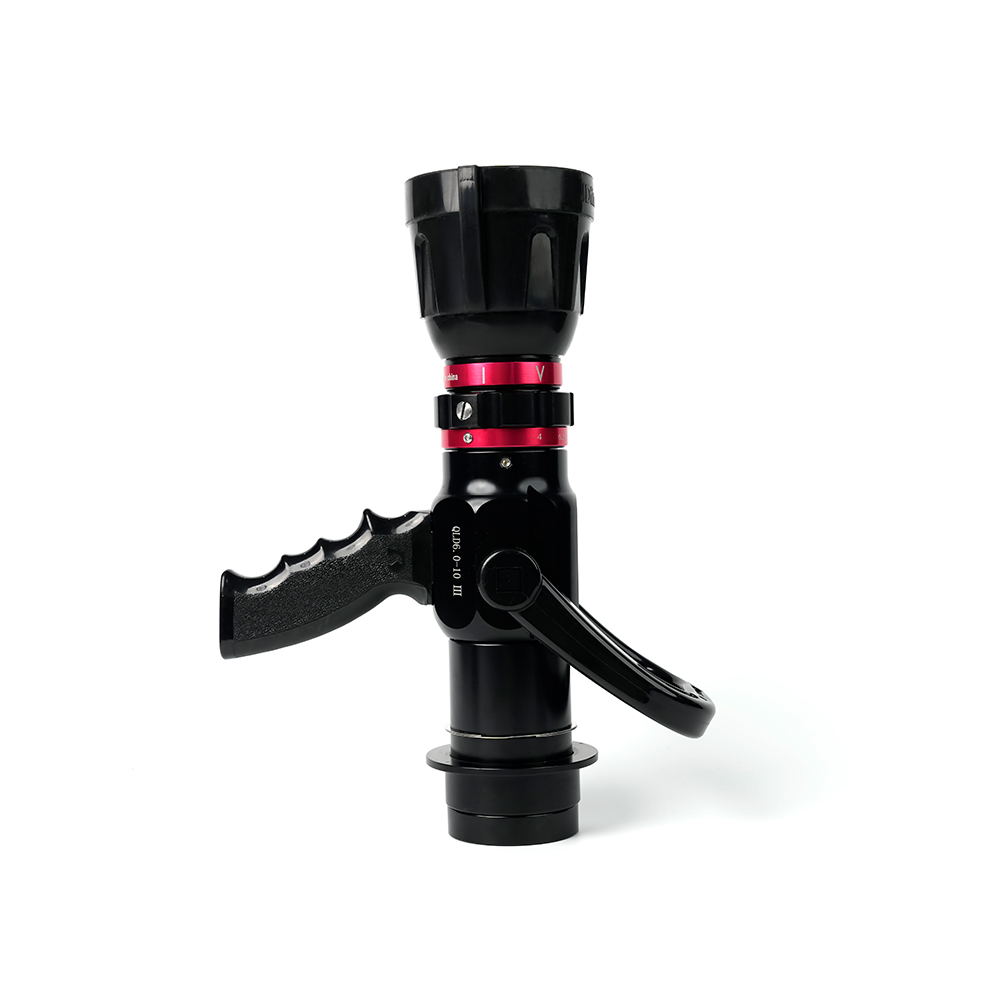 Adjustable nozzle-machino
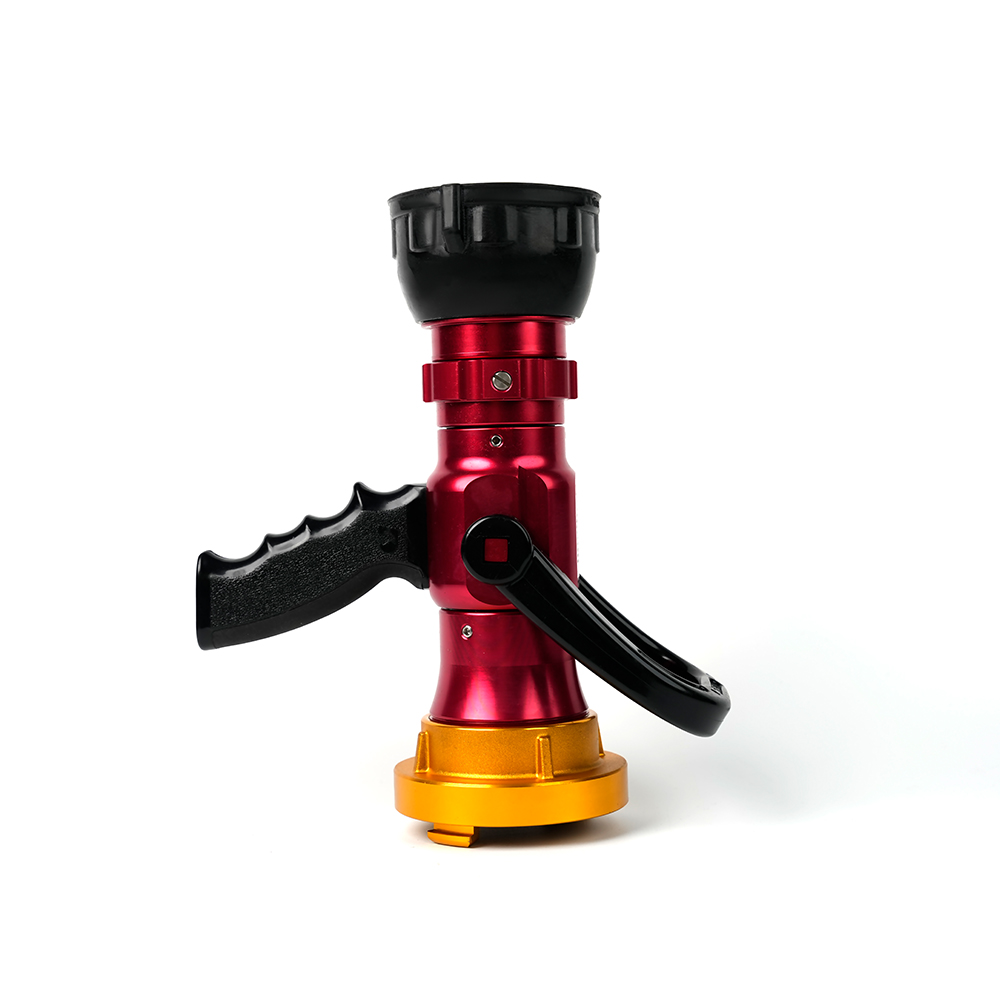 Adjustable nozzle-storz
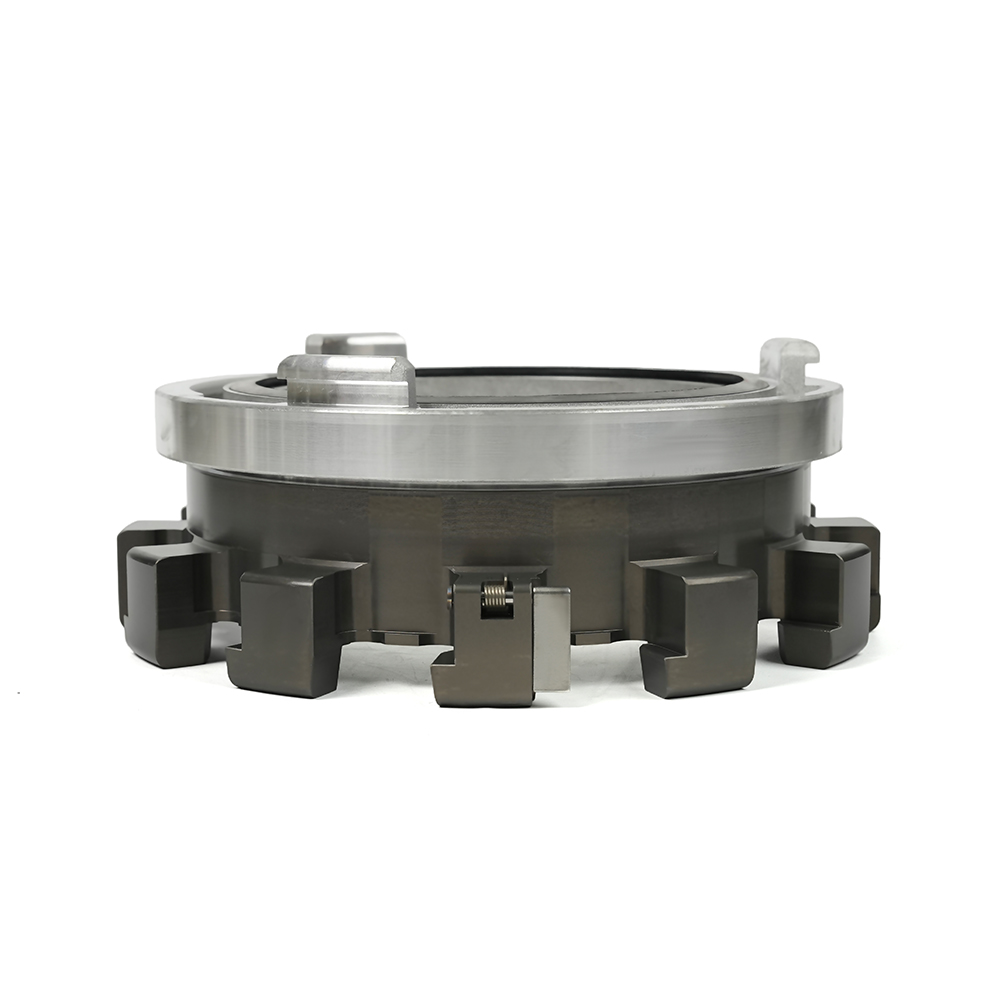 Storz Adapter Couplings - Multi-Tooth
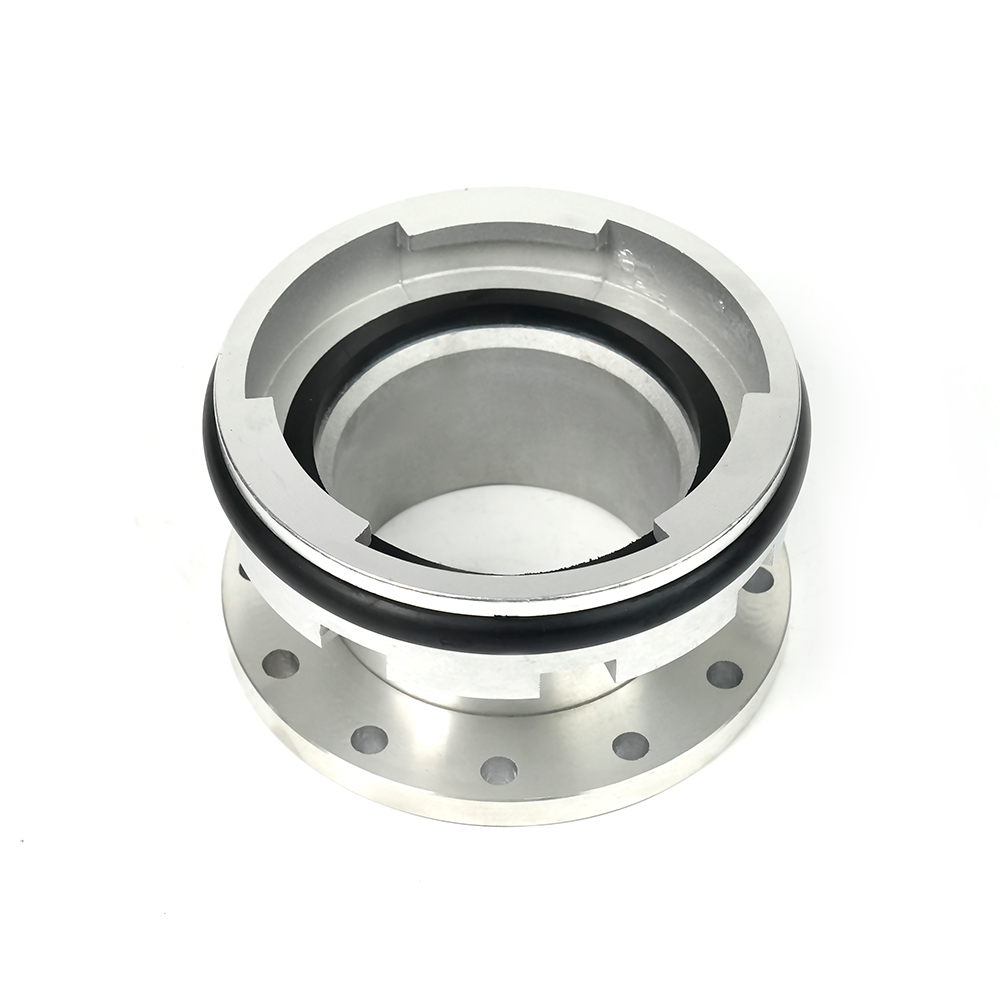 Machino Adapter Couplings – Flanged
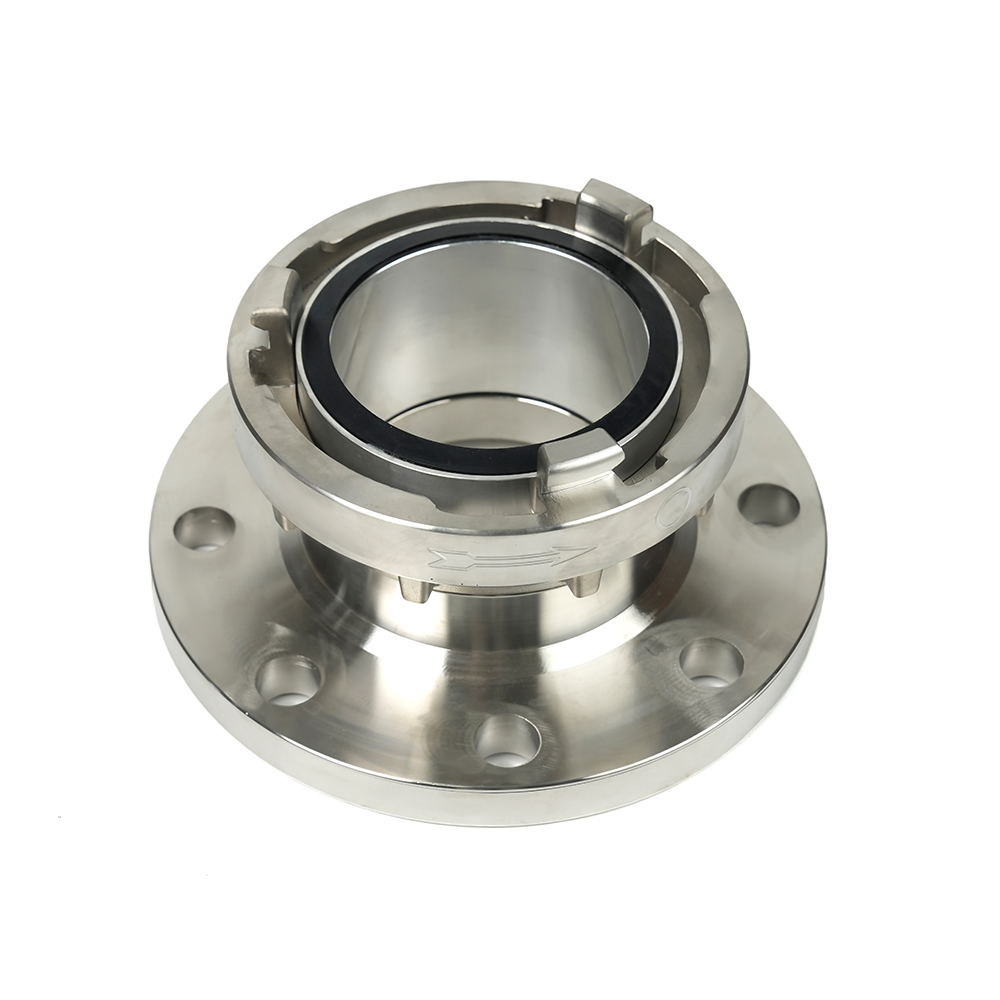 Storz Adapter Couplings – Flanged

 Contact Number
+86-0523-83274900
+86-151 9064 3365
 Let our team offer you customs solutions.
 Company Address
West side of Hongxing Middle Road, Lincheng Street, Development Zone, Xinghua City, Jiangsu Province, China
Copyright @Jiangsu Jinding Fire Protection Technology Co., Ltd. All rights reserved Fire Protection Equipments Manufacturers
